Tag Archives: EC2

Adventures in IPv6 land

You probably heard that we are running out of static IPv4 addresses. Actually, we ran out in 2011! IPv4 provided 4.3 billion IP addresses, which is not enough to give everyone their own IP address. IPv5 suffered the same fate–not enough IP addresses–so, enter IPv6, which uses 128-bit addressing compared with IPv4’s 32-bit addressing. Instead of 4.3 billion IP addresses, we now have approximately 3.4 x 10^38 IP addresses to choose from–that’s more than 10^28 IP addresses for each of us! BTW, that’s better than telephone numbers, which will eventually run out, too.

I wanted to see if I could upgrade the website that holds my genome, http://genome.startcodon.org, to IPv6. What prompted the whole thing was AWS’ announcement that they were going to start charging for IPv4 addresses beginning in February 2024. I thought it might be a good time to migrate to IPv6 and save a little money. (The charge per EC2 instance is $0.005/hour, or about $4 per month.)

TL;DR IPv6 is tricky; we are still not ready for it, and I am not saving any money.

The first place to start is with your computer. Use https://test-ipv6.com to see if you have a local IPv6 address. If not, you probably have to fix your router. I am using an Orbi RBR850, and the instructions to turn on IPv6 were straightforward.

After fixing my router to speak IPv6, I thought I could declare victory and move on. Alas, no. Two days later I was sitting in a hotel room attempting to access my now IPv6-enabled website, http://genome.startcodon.org. But I couldn’t, so I tried https://test-ipv6.com/ to see what was going on. Sure enough, the hotel was not providing IPv6 addresses! So, back to square one.

It turns out that you can migrate to IPv6 (and I did), but keeping both IPv4 and IPv6 addresses running on your website maximizes interoperability for those folks who have not yet made the transition to IPv6. I suspect that we’ll be using IPv4 in combination with IPv6 for a long time.

The checklist

Here’s a non-exhaustive list of some things to keep in mind when migrating to IPv6. Good luck!

  1. Your local network must assign an IPv6 address to your computer, probably using DNS.
  2. Your ISP must support IPv6 natively or support a translation mechanism between IPv4 and IPv6.
  3. On AWS, your VPN, subnet, routing table, network interface, and security group must be enabled to support IPv6.
  4. If you are using an S3 bucket, you must enable dual stack mode to support IPv6.
  5. Optional DNS entry: Update your AAAA record (the IPv6 version of the A record) to point to your host.

Picard reruns: Creating FASTQ files from a BAM file

In this post, I explain how I created FASTQ files from a BAM file using a utility called Picard (no relation, although I pronounce my name the same way).

Background

In 2014, my wife and I “got genomed” through Illumina’s Understand Your Genome (UYG) program, now managed by Genome Medical. Subsequently, I crowdsourced the sequencing of our kids’ genomes and presented family trio findings about our adult daughter’s autism in 2015.

One of the limitations of the family trio work was that the bioinformatics pipelines were different between our samples and our kids’ samples. To fix this limitation, I had to “reconstitute” the original FASTQ files from the BAM file provided by Illumina and then re-run all our data through the same pipeline. (Note: To my knowledge, UYG no longer provides BAM files as part of this program.)

Fortunately, bioinformatics wizard Mike Lin was also in my UYG class and wrote a blog series explaining how to extract FASTQ files from a BAM file. (Thank you, Mike!)

Using AWS to run samtools and Picard

You can create FASTQ files from your BAM file by using Picard, a set of Java-based command line tools for manipulating high-throughput sequencing (HTS) data in formats such as SAM/BAM/CRAM and VCF.

Running Picard

For reasons that escape me now, I first ran Picard using an AWS t1.micro instance.

Facepalm: I attempted to run Picard using an AWS t1.micro instance. Source: Paramount

After 3 attempts–watching Picard fail after running for 3 days each time–and creating thousands of temp files in the process, I learned the hard way that Picard requires more than 613 MBytes of memory. This time, I used a c4.2xlarge instance (4 cores, 16 GBytes of memory), which worked. It appears that 16 GBytes is about the minimum amount of memory to get the job done.

Step 1. Is your BAM file sorted?

Before creating FASTQ files, make sure your BAM file is sorted so that your genome coordinates are in order. One of the ways to do this is with samtools, a suite of programs for interacting with HTS data. Here are the commands I used to install it. You can check whether or not your BAM file is sorted by using this command:

samtools stats YourFile.bam | grep "is sorted:"
# "is sorted: 1" = Yes, your BAM file is sorted.
# "is sorted: 0" = No, your BAM file is not sorted.

If your BAM file requires sorting, use this command (or something close to it):

# Type "samtools sort --help" for a description of this command
samtools sort -n -@ 2 -m 2560M InputFile.bam -o ./OutputFile.sorted.bam

# Check for existence of Read Groups (@RG)
samtools view -H InputFile.bam | grep '^@RG'

Step 2. Run Picard

Get Java and the picard.jar file. Run this command, but keep in mind that the options below are for a BAM file created on an Illumina HiSeq sequencer:

java -jar ~/picard.jar SamToFastq INPUT=InputFile.bam RE_REVERSE=true INCLUDE_NON_PF_READS=true OUTPUT_PER_RG=true OUTPUT_DIR=OutputDirectoryName

Alternatively, you can use GATK4 (version 4.0 and greater) to accomplish the same task:

gatk SamToFastq --INPUT=InputFile.bam --RE_REVERSE=true --INCLUDE_NON_PF_READS=true --OUTPUT_PER_RG=true --OUTPUT_DIR=OutputDirectoryName

Using the c4.2xlarge instance, I ran Picard in 3 hours to create the FASTQ files shown below. In addition, creating compressed (gzip) versions of the files required another 8.5 hours of compute time. With an on-demand price of about $0.40 per hour, creating compressed FASTQ files cost approximately $4.60 USD on AWS.

Next…the pipeline!

Source: strangeuniverse1

My WGS data is now available via Amazon S3

In 2014, I uploaded my WGS data to the cloud and made it publicly available. In a previous post, I explained why I moved my WGS data from DNAnexus to Amazon. In this post, I explain the final step: attaching the S3 bucket to a web server. The goal was to replace the ftp server with a web server and make it easier to download my whole genome sequence data.

TL;DR: My genome is now available at http://genome.startcodon.org

Background

I launched my first cloud server literally while in the clouds in May 2014. Cloud computing has changed so much, it’s unbelievable. Back then, I had to patch the Linux kernel by hand so that the ftp server would work on AWS. Today, uploading your genome using Amazon’s command line interface (CLI) to an AWS S3 storage bucket is relatively easy. Understandably, Amazon makes it challenging (but doable) to make your storage publicly available. I used the Apache Web Server and s3fs to share this information.

My first cloud server

Step 1. Install Apache

Depending on your flavor of Linux, your commands may vary. I am using Ubuntu 18.04 LTS running on a t2.micro EC2 server. Here are the commands I used to install the Apache HTTP Server.

Step 2. Install s3fs

s3fs allows allows you to mount an S3 bucket via FUSE. s3fs preserves the native object format for files, allowing use of other tools like AWS CLI. Again, your commands may vary depending on your flavor of Linux. Here are the commands I used to install s3fs.

About my whole genome sequence data

My genome data and results are now in the public domain, freely available to download under a Creative Commons (CC0) license with a HIPAA waiver. I have not converted my BAM files to CRAM yet, so you may want to read the clinical report and sample report to save bandwidth.

Download information

Note: I decommissioned the ftp server after 6 years of faithful service.

I uploaded my whole genome sequence data to the cloud

i-got-genomed
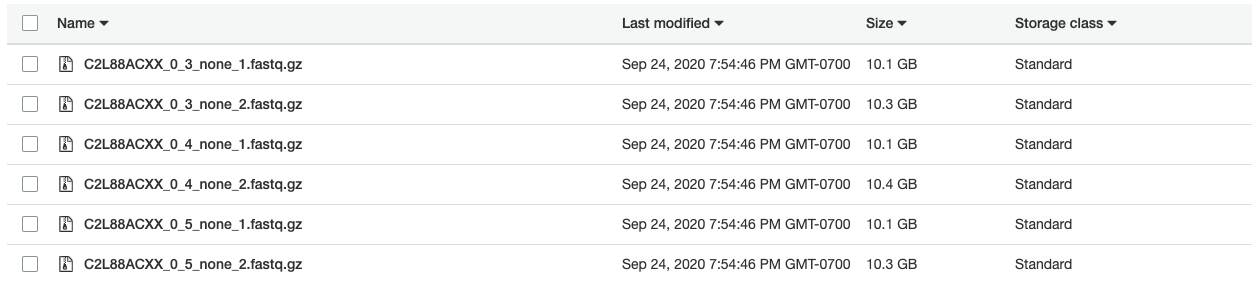
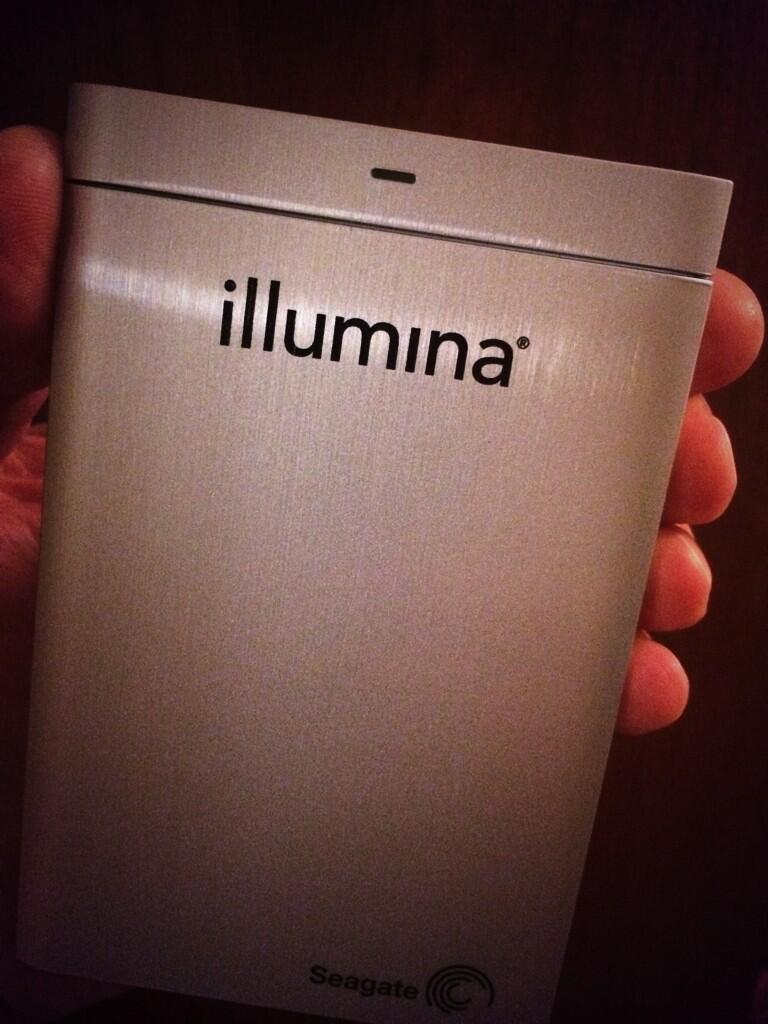
I got genomed by Illumina

In March 2014, my wife and I “got genomed” by enrolling in Illumina’s (now Genome Medical’s) Understand Your Genome (UYG) program. UYG requires participants to order this whole genome sequence (WGS) test from their physicians due to uncertainties surrounding the delivery of genomic results in the U.S. Illumina is careful to point out that the service “…has not been cleared or approved by the U.S. Food and Drug Administration” and “you will not receive medical results, or a diagnosis, or a recommendation for treatment.” Our family physician signed the request in November 2013, and we received our results in February. Fortunately, no surprises, but the UYG program only covers these Mendelian disorders for now. We flew to San Diego a few weeks later to listen to talks by genomic researchers and discuss our results with genetic counselors. As part of this one-day seminar, we each received an iPad Mini that was pre-loaded with our results, as well as a portable hard drive that contained our raw sequence data.

illumina-wgs-hard-drive I received my WGS data on this encrypted hard drive (about 100GB).

After we arrived home, the next step was to find a public “home” for my sequence data (to share without restrictions). What I learned is that uploading your genome anywhere is a challenge, mostly because the dataset is so big.

I looked at DropboxEvernote and Figshare, but their storage models do not scale well for genomic data. I tried Sage Bionetworks, but the BAM file was too large to upload. I settled on Amazon Web Services (AWS) and created an anonymous FTP server using the Amazon Elastic Compute Cloud (EC2).

About my whole genome sequence data

My genome data and results are now in the public domain, freely available to download under a Creative Commons (CC0) license. Uploading the data took two days over a 3Mbps connection, so you may want to read the clinical report and sample report instead.

  • ftp://ftp.startcodon.org <– I decommissioned the ftp server
  • username: anonymous
  • password: guest
  • BAM file checksum: 2529521235 (78.1GB uncompressed)
  • VCF file checksum: 4165261022 (2.4GB gzip compressed)

Questions about FTP? See this FAQ.

Now that I have my genome in the cloud, I’ll start playing with analysis tools like STORMSeq. Stay tuned!

My WGS data is now available on Amazon S3

Read the blog post